Showing posts with label Quilt Top. Show all posts

Friday, January 15, 2016

slow and steady wins the race


I've come to the conclusion that there is a fine line between scrap usage and insanity. This is a line I am willing to test, repeatedly.

In my last post, I shared a quilt I made for my baby niece. When I began making the blocks, I noticed that there are a lot of triangles that are cut off as waste. And being a scrappy quilter by nature, I just couldn't relegate them to my scrap bin, to never be found again, to become distorted or to be lost.


From the get go, I decided to stitch a second seam 1/2" away from the the first seam on the edge that was to be cut away. That way, when I cut off the parts that the block no longer needed, I would already have a tiny little half square triangle block, ready to be pressed, ironed and trimmed.

I found that while some blocks could handle being trimmed to 1 1/4", it was safer to trim them all to 1". Each Shimmer block generated 24 half square triangles. And there were nine blocks total in the quilt I made, so if I just kept it up and didn't flake on this, by the end I would have as many as 216 HSTs. The thought was really exciting.

(Mini anything has always appealed and I have been itching to make a mini for my wall.)


While I stitched through my niece's quilt, I kept pondering the layout. To sash or not to sash? Single HSTs or grouped HSTs? If grouped, how big a group? If sashed, how big? Round and round I went.


I trimmed all my HSTs using my Bloc Loc ruler and about half way through, realized I could do multiple (as many as 5), at a time in one layout. (See my instagram account if interested in a video of this.) This definitely saved time and I'll be using this procedure again for sure.


Eventually, I decided on groupings of four HSTs of the same type. After sorting all my HSTs, I realized that regardless of the color of the HST, each sorted group had an amount based on a multiple of 4. And I wanted to use up all my little hard earned blocks, so groups of 4 was the way to go.


Once I decided that, I made a quick plan of doing 54 groups of 4 blocks (216 total), which would work out to a nice layout of 6 blocks by 9 blocks.


I decided on using a sashing of 1 1/4" width for in between the blocks. Each HST finished at 1/2" square, making the 4 patch block 1" square finished. The sashing between would finish at 3/4". I did an outer sashing of 2" unfinished.

I am beyond thrilled that this turned out EXACTLY as I hoped.

Now to decide on quilting...

Linking up with Crazy Mom Quilts for it finish it up Friday.


Friday, June 6, 2014

piper - a quilt for my daughter

I make a lot of quilts. Many, most actually, end up being gifts for someone outside my immediate family. Last year, I realized that my daughter didn't have a regular-sized quilt... she's been tagging around the tiny, faded quilt I made for her when I was pregnant.

A Walk in the Woods, by Aneela Hoey seemed like the perfect fabric for her. It's pretty, and feminine and whimsical. At a local craft fair, I scooped up a jelly roll and charm pack, and was hoping this was enough to make a creative quilt top.

The pattern I selected is called "Four Squared", by Aunt Polly, and can be found in the Moda Bake Shop.
The original pattern makes a mid-size quilt, a couple pillows and a bed runner. I found the directions could have used a bit more clarity in describing how much to cut for each element. Otherwise, it was straight-forward.


I've altered the pattern layout to use up all the blocks you could possibly make, less four and make it a large quilt. I used 8 blocks across by 10 blocks down. The last four are going to be used for a throw pillow. (She is a huge fan of throw pillows.) This brings the quilt measurements to 64" by 80".


This is a surprise quilt. She has no idea I'm making it and it's been tucked away in a box for months, as I plugged away at it. School is out in a couple weeks and I wanted it done before that so I spent a day and powered through to finish it. Miles and miles of chain piecing later, we have a quilt top.


Now, it's back in the box while we wait for the backing and binding arrive, and while I plan the quilting. Secret sewing is the best. I can't wait to give it to her!


Linking up with Amanda Jean for finish it up Friday, and for Needle and Thread Thursday.

Friday, May 9, 2014

concrete - a finished quilt top

I have finally had the pleasure of making my hubby a quilt. This is the first handcrafted item he has ever indicated an interest in, other than the toque debacle of 2007 or so, which shall not be named. He's just not a handknit, sweater wearing kind of guy.

I've been slowly collecting the fabric for this project since last fall. The stack grew and grew (yes, I have a slight problem with fabric shopping) while I searched for the right pattern. I considered designing my own, but in the end was drawn to the Giant Plus design. It's just so "manly" when done in the right fabrics. I was completely inspired by Everyday Fray's Kelsey's Manly Plus quilt. The hubby let me have creative reign with the exception of pink, purple and florals. No problem.


I drafted a color/sizing sketch and went from there.


In the end, I went with 24 rows of 21 units (single squares) across.

Size breakdown for cutting (cut sizes, not finished):
Single unit: 4" x4"
Double unit: 4" x 7.5"
Triple unit: 4" x 11"


I ended up using only one or two 4" strip off of most of the fabrics.  (Whoops... I guess I have more fabric in my stash now.)


I love how the fabrics play together in terms of contrast.


I really wanted to use this Waterfront Park birds in flight fabric as a backing, and managed to find just enough at a local quilt shop. (It'll require some piecing features on the back, but I love that part.)


I'm planning on giving it to the hubby for our 12th anniversary this weekend. I have the backing planned. All that's left to decide is how to quilt it. And then, I've got my work cut out for me.

Have a wonderful weekend!

Linking up with Amanda Jean for finish it up Friday.


Friday, February 14, 2014

up, up and away - from concept to quilt top

I was torn on whether to share this quilt in its quilt top state. It has been such a fun, fun quilt to make, that I've barely put it down to take pictures. But I've decided to go for it.

I'm a relatively new member of the VMQG. One of the first challenge projects that I've had a chance to participate in is the Basics Challenge with Riley Blake Designs. I was so excited when I picked up my fabrics at last months meeting.

I had absolutely no idea what to make so I laid them out on my sewing desk, and while working on other things, I let the ideas percolate.
Then I went to the drawing board. I toyed with doing something using a pattern from a designer, but in the end, decided to be brave and design something myself.

This is a win win project. This is my challenge entry and it will also be my baby's first "big boy quilt". It's a bit early to make him one, but he really is a big boy, and the baby quilts I made him when he was tiny are so easily kicked off and more often than not, he sleeps uncovered in his crib. I wanted to make this quilt "un-kickable".

It took a day or two to hash out a plan and do the math, in between all the other things moms do.
I have to say how much I LOVED this process. (This is new to me, so I wasn't expecting that.)


Then I did a few test blocks. These are some of the bits left over. (They are so pretty.)


I decided to throw in a tiny little accent. I fiddled with some flying geese blocks and made this tiny little sequence. I love it. It measures around 2 inches by 1 inch, per unit.


The background fabric is a Moda Bella grey that I love and just might have bought a bolt of... The bits of color are solid scraps from my collection.

After some sewing and trimming and pressing, there was a quilt top. I apologize for the quality of photos. I didn't stop to take proper pictures during this process (just Ipad pics). I didn't expect it to move so quickly. 


The finished top has so many things I love about it. I love the color and the motion, and how the bits of the challenge fabrics play so well with everyone else.


This quilt wouldn't have had a backing so quickly if it weren't for my amazing hubby. He left work early to hit the fabric store (nearer to him than to me) before it closed and found me the perfect backing fabric AND binding fabric, that matched the guidelines for the MQG challenge. Yes, it probably took 30 minutes on the phone and quite a bit of hunting on his part, but he did it. And they were so much better than I imagined. (But you'll have to wait for finished pictures to see it ... in color.)


When laying out the backing and trying to determine my piecing plan, my little guy found his quilt. And boy was he pleased with it. It was a swirly, wrinkly mess in 30 seconds flat. He LOVED it. And it wasn't even done.


One more nap for him and it was basted. This just might be my favorite quilt ever. At least until the next favorite one.

Linking up for finish it up Friday with Amanda Jean.

Friday, January 17, 2014

shelbourne falls and friends - a finished quilt top

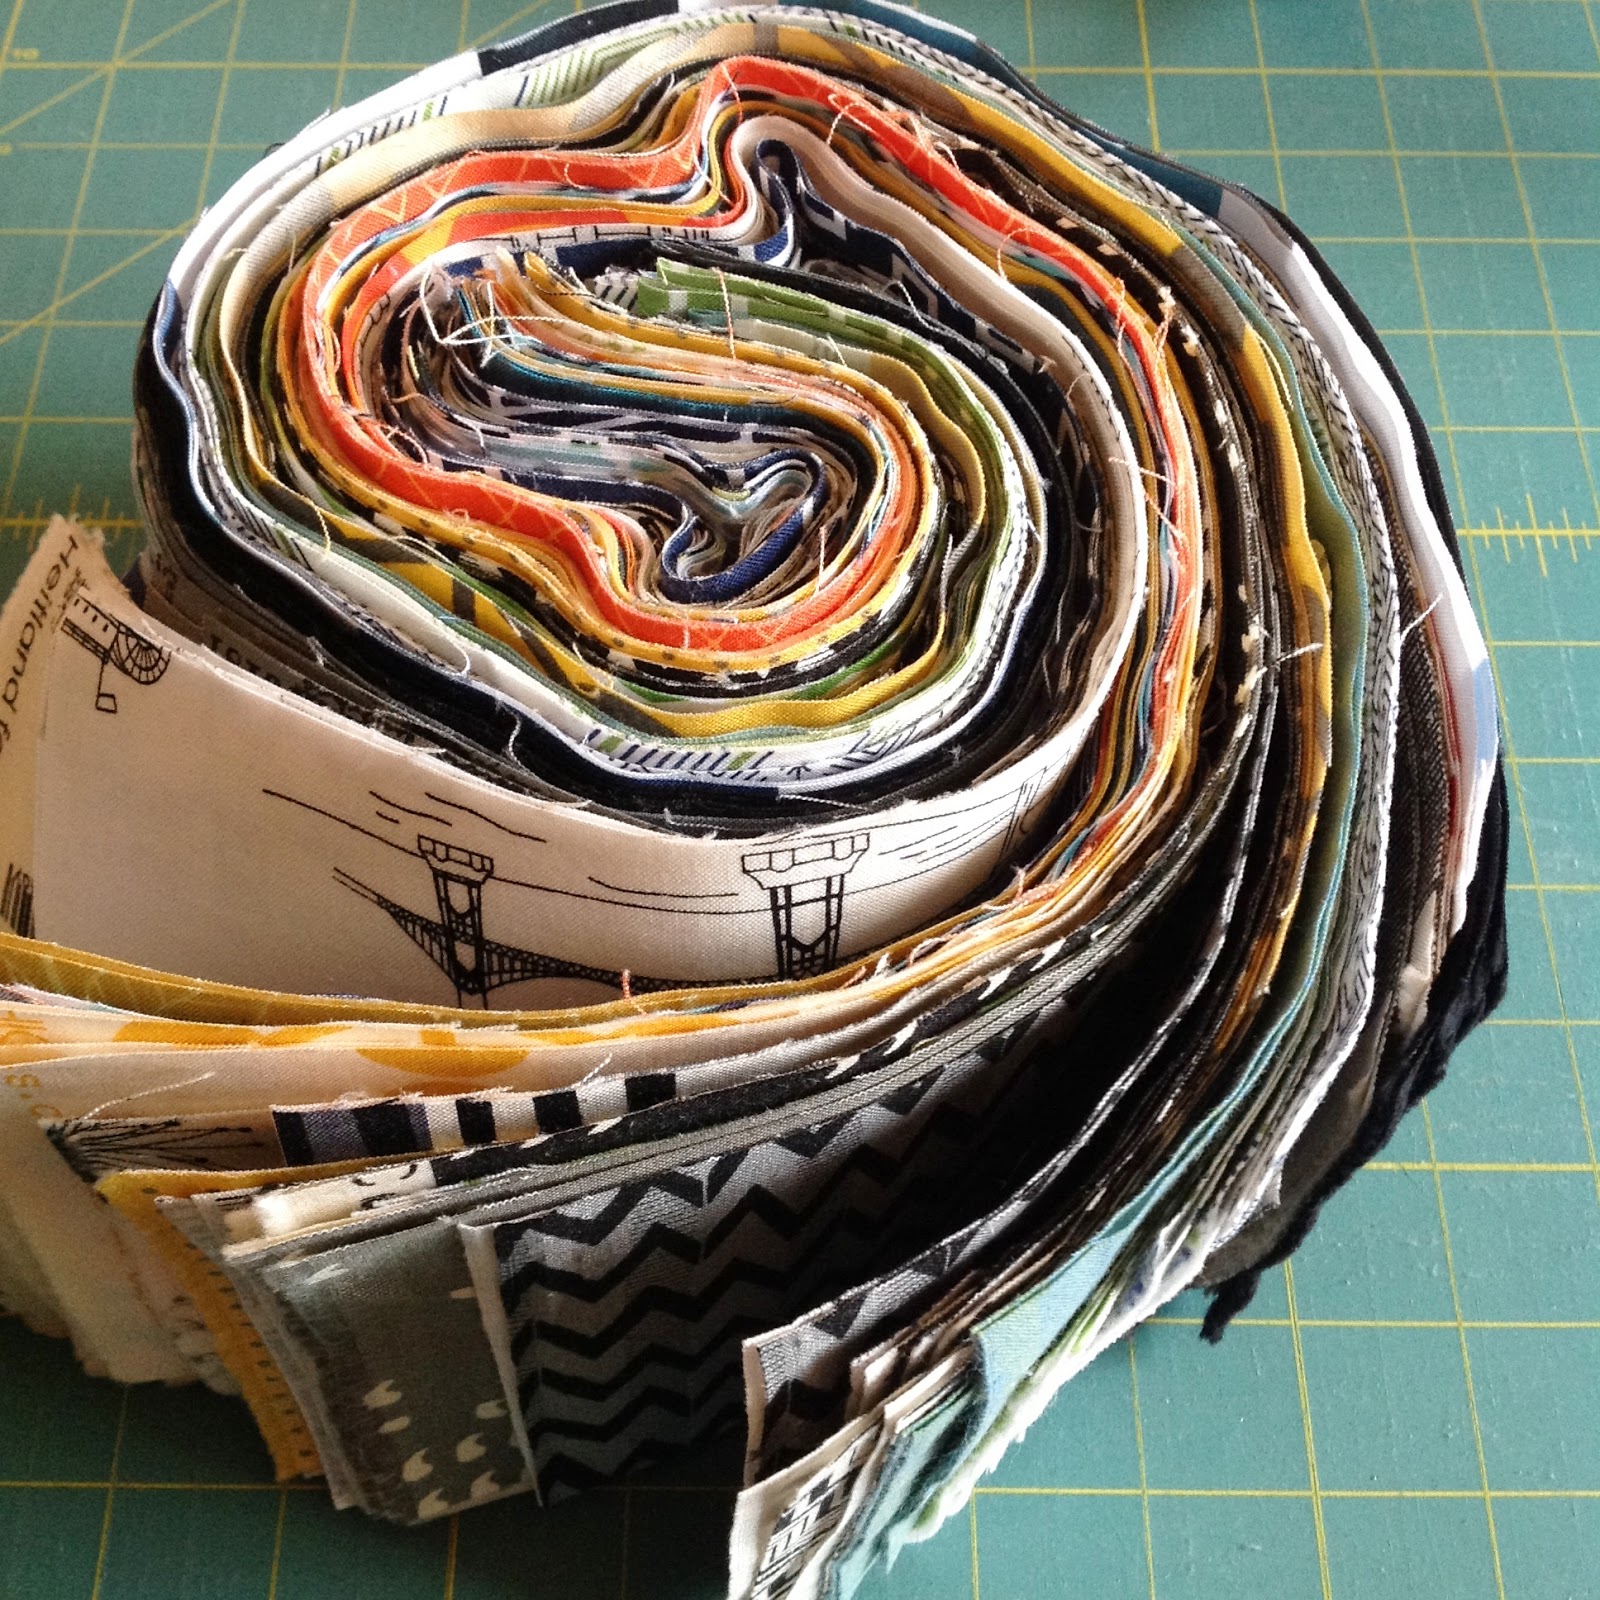
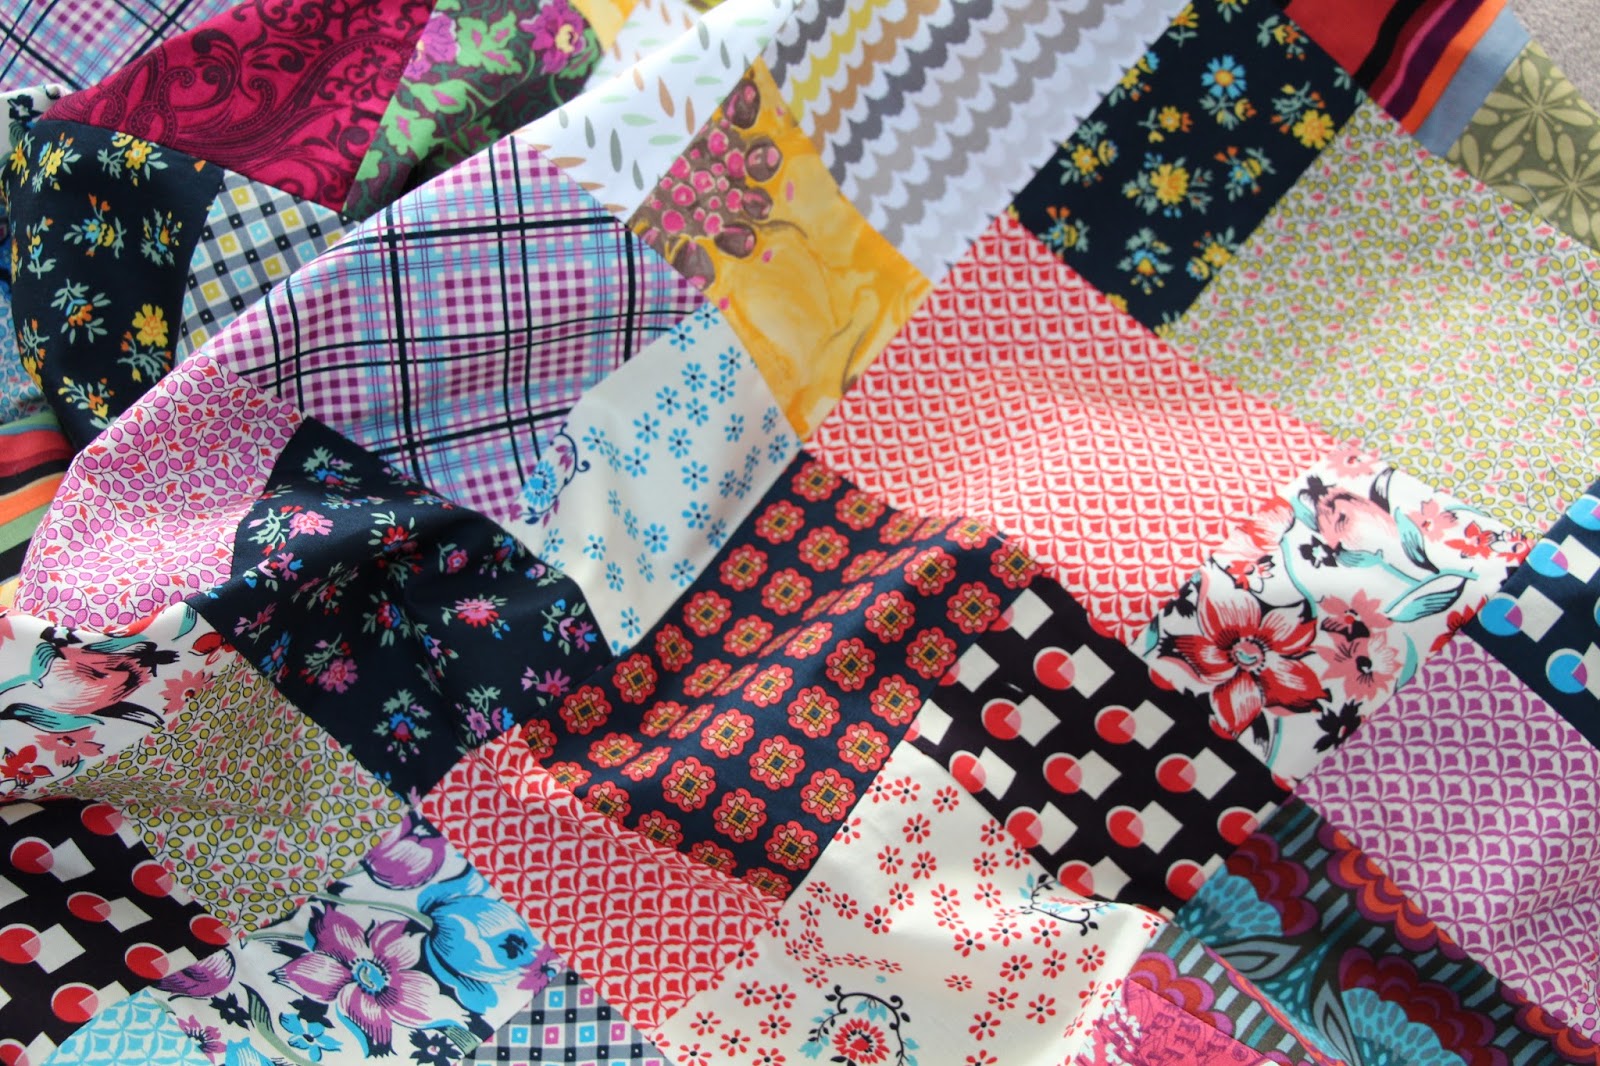
Over the winter break, I stumbled across the Missouri Star Quilt Company's tutorial of the Double Slice Layer Cake Quilt. It inspired me to cut into my little 10 inch charm pack of Shelbourne Falls, by Denyse Schmidt. It's was waiting for the perfect type of pattern, one that used every bit of the fabric, without an inch of waste.

I love this line of fabric, particularly the blues and reds that mingle with the creams and the blues and purples. There is something very vintage-like about it. 


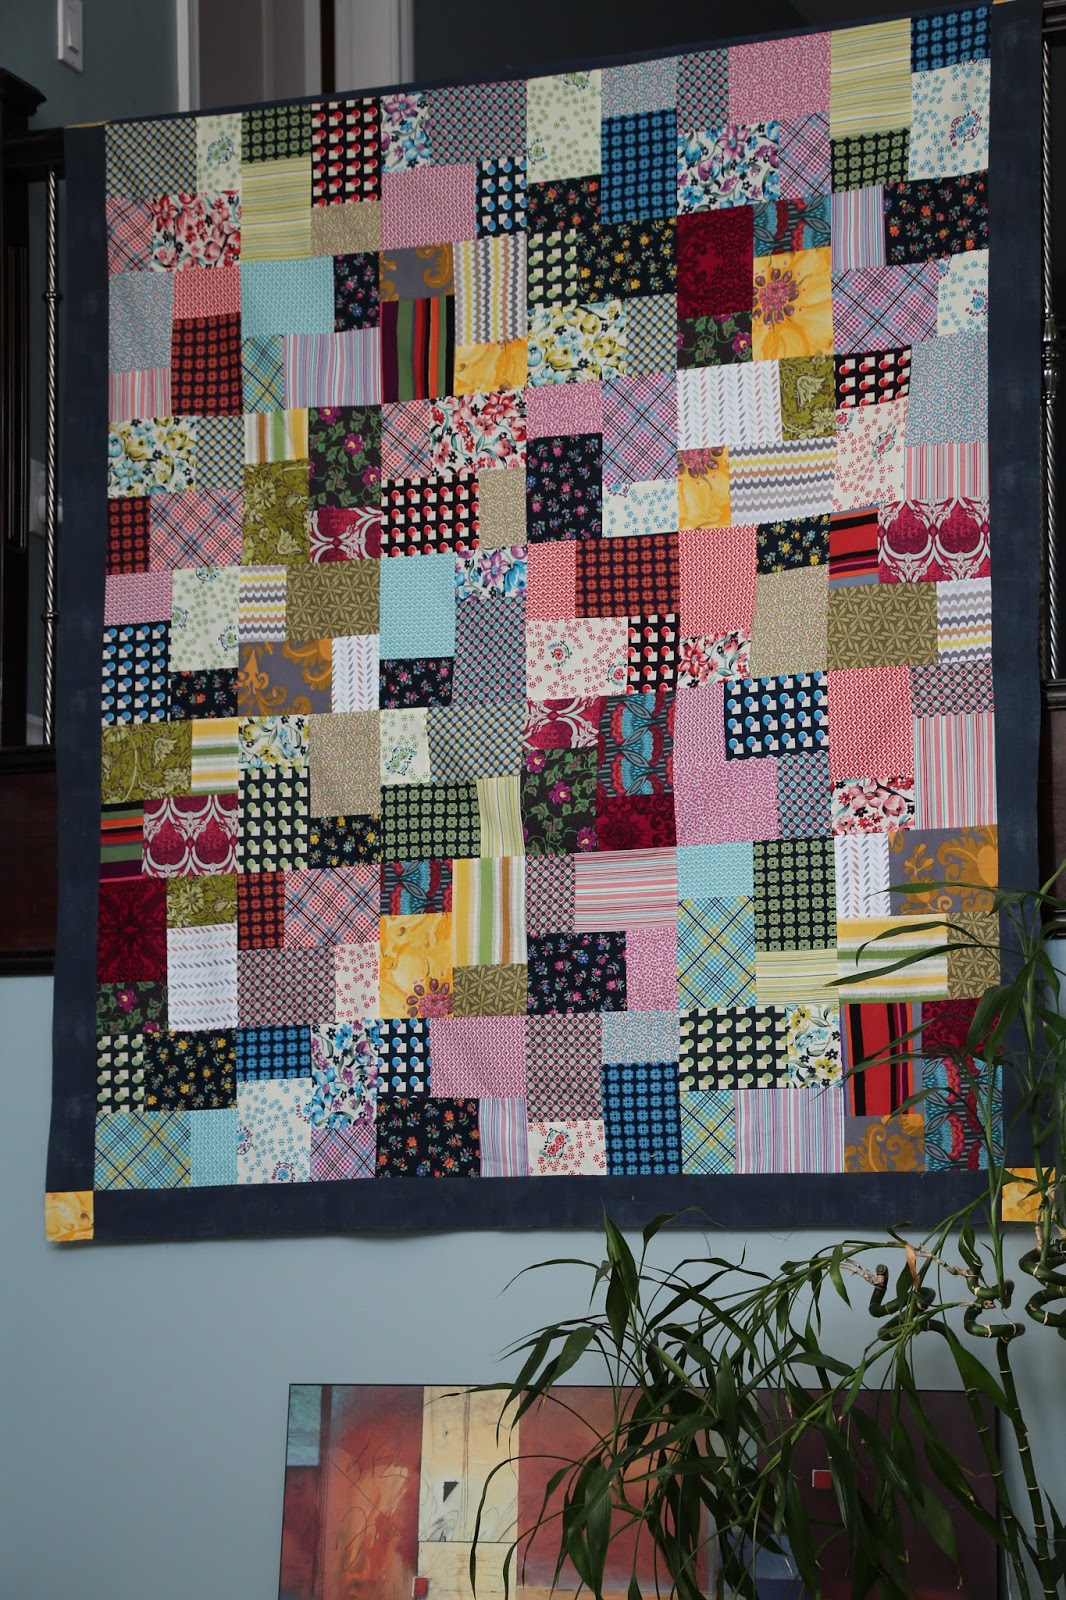
I dug through my scraps and pulled out a bunch of prints that would mix well together, cut them to 10" and went to work making a throw sized quilt. These blocks are very easy to chain piece and came together super quickly.


I didn't follow the tutorial exactly when it came to block placement, and just let them sit where they seemed to suit best, creating a really scrappy, and somewhat random look that I love.


The border is a slate blue fabric from Moda's PB and J line called Grunge Basic Picnic that I pulled from my scrap bin. It's such a good feeling using up the bits and pieces from older quilts. I have the backing and binding waiting for my next block of uninterrupted quilting time. Hopefully that is very soon...

Have a happy Friday!

Linking up with Amanda for finish it up Friday.


Friday, September 27, 2013

Finally!

Today's post will be short and sweet. You have heard me going on about finishing my star flower quilt top for quite some time. (Way too long!)


I'm happy to report that with the exception of some borders (awaiting the last step in the tutorial), this baby is done. I will focus on my backing piecing next.

I love absolutely everything about this quilt. It's bright and happy and every single star has polka dots. It's definitely been worth the effort.


The hubby has dropped the hint that maybe I should work on his "not quite a surprise" quilt while I am waiting for the tutorial. Sounds like a perfect plan!

Linking up with the always inspiring Amanda at Crazy Mom Quilts.