Friday, December 11, 2015

the art of new beginnings

Hello!

I don't know that anyone actually reads my blog anymore (ever?) but I've turned over a new leaf. And I cannot wait to see where it takes me.


Let's see. Its been MONTHS since my last post. I don't really even know where to begin. That fact and the fact that this post is going to be really, really hard to write has had me procrastinating. A lot.

If you follow me on Instagram, you may have a little bit of an idea of what has been happening, for those little glimpses I share. Sometimes, I don't know how much to share, but let me tell you, in the moment, while it was happening, sharing and getting feedback helped me cope.

This past year has been the most difficult and trying years of my life. It has tested me and stretched me and broken my heart. I didn't know a heart could be broken quite like that.

Remember Sewvivor last year? Well, during the Sewvivor competition, I returned to work full time. Within a week, I discovered that I was also newly pregnant. And we were moving within the month. It was an incredibly stressful month. We had just decided that we were finished growing our little family, but from the first moment of learning about this tiny blessing growing in me, we were smitten and embraced the fact that our life was going to change.

At almost 7 weeks pregnant, I began bleeding and lost our little baby. This happened on the weekend of our move. I was lucky enough to see a little heartbeat flickering on the ultrasound monitor, but that was it. I'm still not 100% convinced that I didn't cause it by moving heavy furniture when I shouldn't have been.

I can't even begin to explain the loss I felt. While not having planned for a fourth child, all of a sudden, there was a huge gaping hole in our family, an emptiness. And for the first time, I truly understood what others have gone through, quietly, secretly. And I kept my mouth shut and held my pain in.

A few months later, I decided to share my loss and was moved to tears by the compassion and similar stories echoing. I was stunned by the number of people who have experienced this loss.

In time, we decided to try for a fourth. Consciously. I immediately became pregnant. The doctors all said that the first miscarriage was simply chance. I was so excited, and so sick, all at once. This time, I was going to get my baby. I couldn't wait!

I went for my first ultrasound scan, and just looking at my technicians face, I knew. After a couple horrifying weeks of waiting, we learned that our baby had stopped developing and that the pregnancy, while continuing, was never going to produce a baby. I miscarried in spring, on April Fools day. The irony is not lost.

The thing that got me through my second miscarriage was that we had decided to have a fourth child, not necessarily simply another pregnancy attempt. There was still hope, I thought. We would try again.

I waited a month or two to heal and by mid summer, we were expecting. I tried to be so careful with myself, not over-exerting or stressing. I went on a leave from work to give my body time to do what it needed to do.

My first ultrasound with this pregnancy was one of my worst ultrasound experiences ever. The technician yelled at me, was unprofessional and would not let me see the screen. I left knowing nothing and in the end had to wait days for him to send the report to my doctor. But I knew.

We waited another two weeks and the follow up ultrasound revealed that our baby had stopped developing at 6 weeks. I didn't miscarry until about 11 weeks, at the beginning of fall.
I had officially reached the label of having had "recurrent miscarriages".

What I didn't know was why? WHY? After having three perfect pregnancies and babies would I go on to have 3 miscarriages.

I've done a lot (read: TONS) of research with my blood tests and what might have caused this bizarre turn of events.

This past year has been a roller coaster of emotion and pain with tiny glimpses of hope and then more disappointment. I wish I had answers.

But, now you know where I've been.

This has definitely been a life changing year. I've re-focused to work at rebuilding my health one day at a time.
I've quit my full-time job and become a stay at home mother again after five years away. I can't tell you how much this has helped soothe my soul. I'm focusing on my family and children. I finally feel present in their lives, in a way I couldn't be as much before.
I've also begun the journey of homeschooling one of my children.

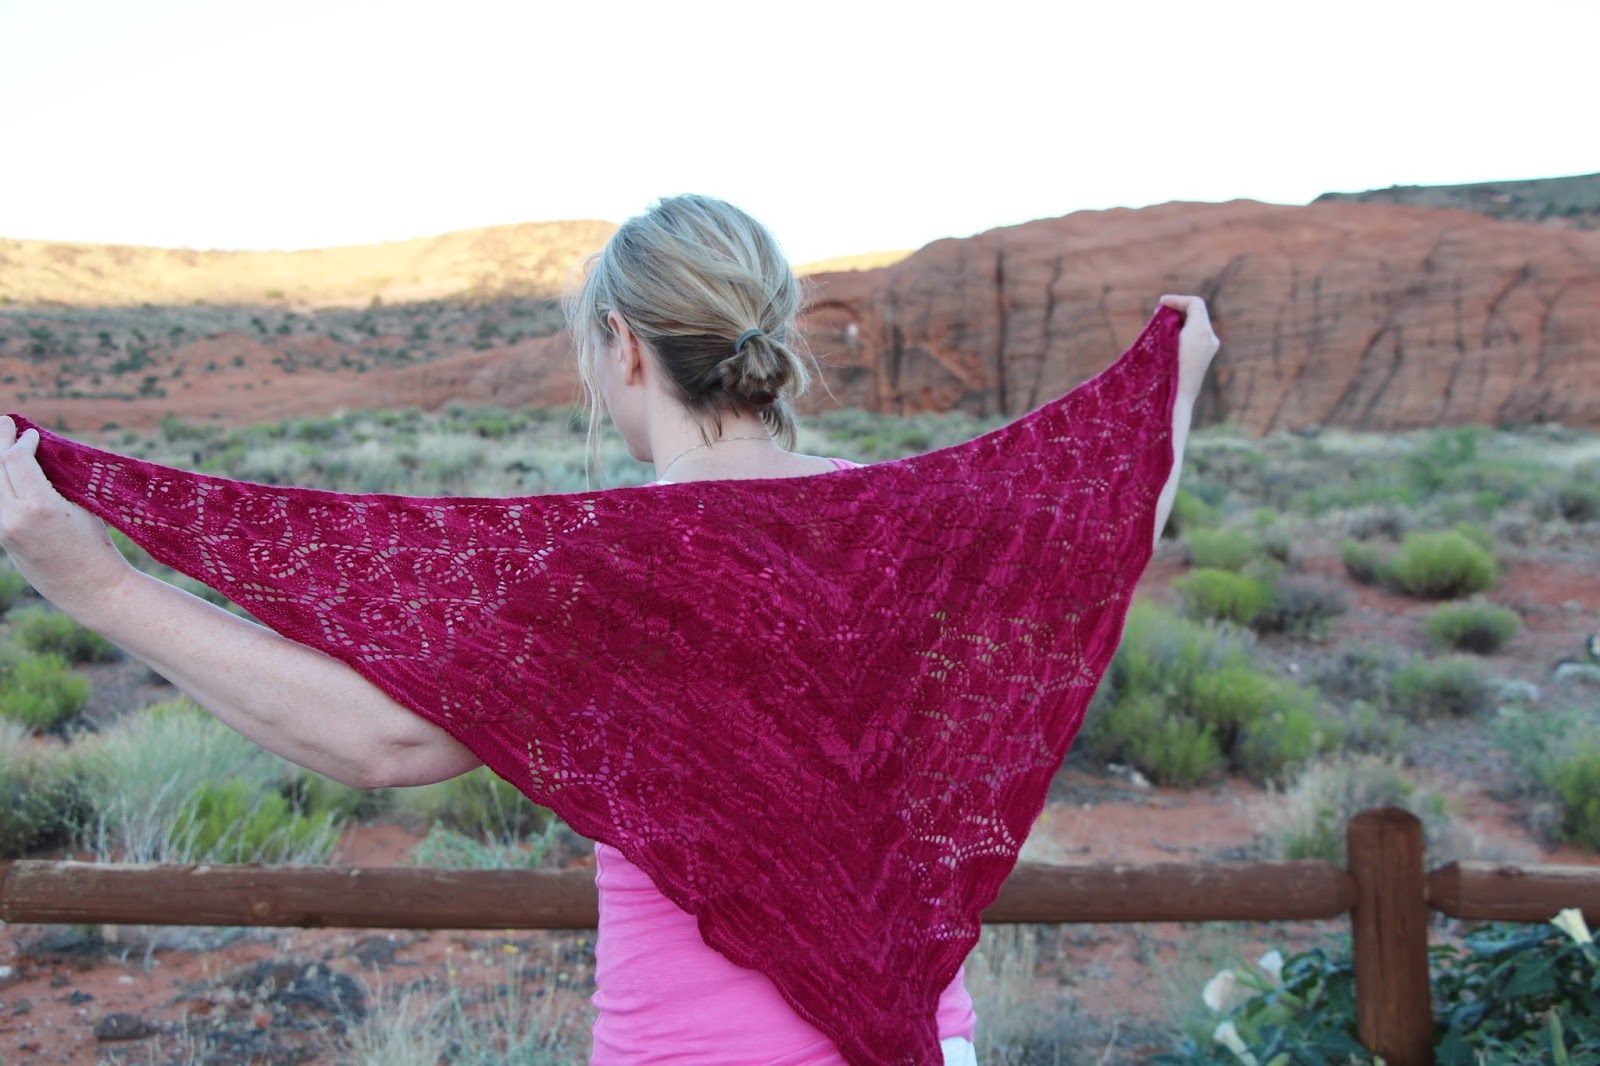
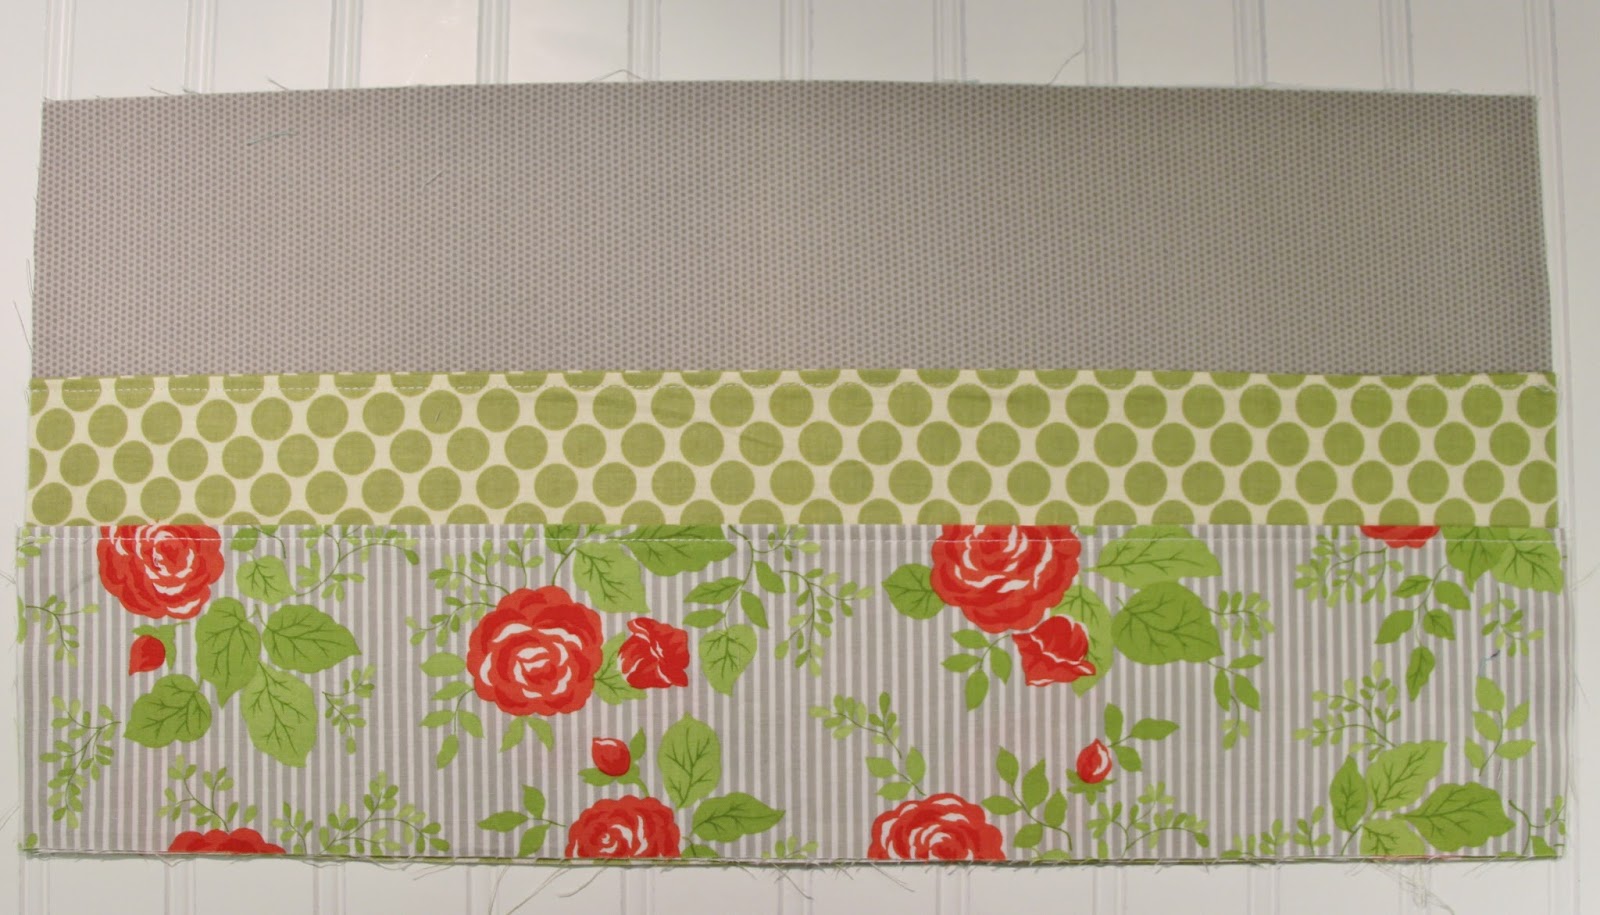
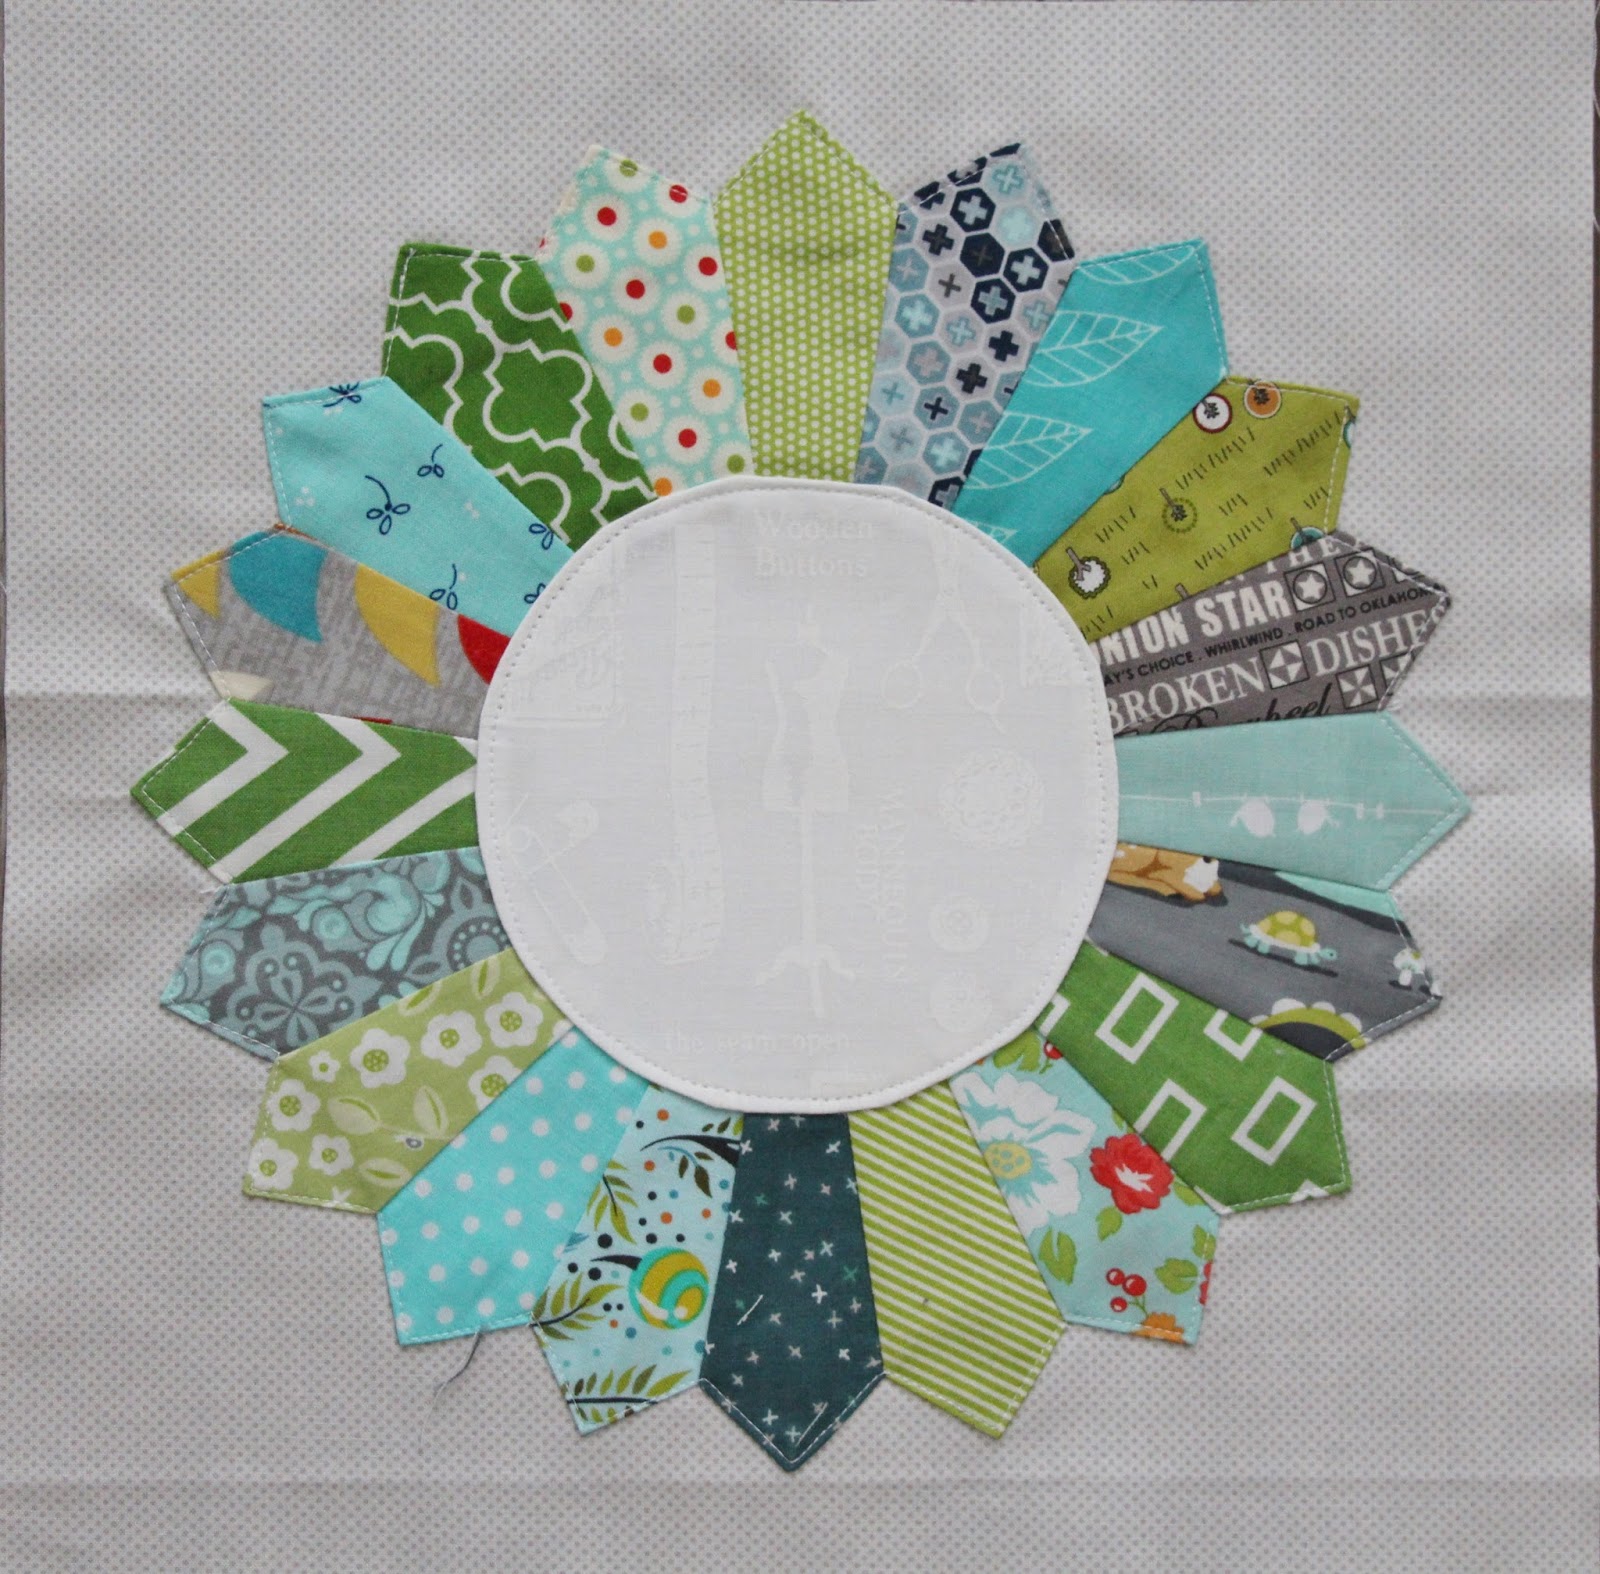
Creatively, this past year has been a good one. In between everything, I've released a new quilt pattern, Vintage Carousel, and am in the process of writing my next.

So, here's to closing chapters, turning the page and new beginnings. To healing, and appreciating, and celebrating life. And lastly, to hope, and new tomorrows.


Saturday, June 27, 2015

Rosebud - A Finished Shawl


In May 2014, I started a small Rosebud (Pattern by TinCanKnits) Knit-Along with a couple friends. I found the perfect yarn by Swans Island at our local shop. It's a gorgeous raspberry color with slight variations in the color to add depth. And it's soft - so, so soft.


As it happens, it took me almost a year to finish. I would squeeze in rows here and there where I could. It's been a busy and somewhat crazy year, so progress was slow, but in looking back over a year of pictures I realized that this shawl featured was a nice addition to many family memories.


I knew relatively early on that this was not going to live with me when it was done, but with a dear friend that I "met" through our lovely crafting community on Instagram. I've known Raquel for over a year and from the start, I was so moved by what a sweet and loving person she was, both online, and through our emails back and forth.


In a shocking turn of events (shocking because I NEVER do this sort of thing), my a close friend from home and I traveled to meet another friend from Boston and the three of us had a short but sweet stay with Raquel in Utah. Truly, it was one of the most special memories in my adult life. For starters, I've never flown any where post-children, without children. (That part was mildly traumatic.) Nor have I really ever had a stretch of days devoted exclusively to friends and quilting together. We laughed, we cried, we cried some more, we laughed till we cried, and we had the best memories. I also discovered Utah quilt shops, and I may have broken my bank, but it was worth it.


I chose to give the shawl to Raquel in person - truly the best way to give a special gift. I was so nervous!


I think she loves it. And I love that it was stitched with her in mind... That truly is my favorite way of giving. Making something for someone and knowing all along that that in between all the stitches are little memories incorporated along its journey in to becoming finished.


We took a little drive to have a little photo shoot on our last night in Utah. This was probably my favorite memory of the entire trip. Here's hoping this is a yearly treat. :)


I'm coming to realize that you can't rush the crafting process. Some projects decide to move along quickly and some need to be savored slowly.

Thank you for popping by!

xo,
Jade

Linking up with Amanda Jean for Finish It Friday.

Tuesday, June 9, 2015

Foxy

Confession: While I have been extremely slack in the blogging department lately, my crafting and sewing and stashing have still been going strong. This whole working full time with three kids and trying to balance life with crafts and chores and family has been taking up pretty much all of my blogging time. But, if you happen to follow me on Instagram, you know I'm still crafting. I just don't have as long to document it. 

But I've been thinking lately that there are certain projects that I've completed that I really want to document properly, so I'm going back over the past few months and taking the time.

First up is my Baby Fancy Fox Quilt that I made for a friend over our winter months. If you haven't tried out this pattern by Eliabeth Hartman, you really need to. 

It's downright addictive.


I fell in love at first fox. I like how the pattern has different sizes of quilts and the cutting instructions allow for strips or pieces of scraps.
And because I'm me, I went scrappy in one of my favorite color schemes - aqua, pink and red. This color scheme just never gets old.


I like to cut out all of my pieces at once and then chain piece. For this quilt I added a row to the side and bottom to make the quilt slightly bigger for longer use by the baby.


I loved watching my little skulk of foxes grow. (Yes, I had to google that.)


It was absolutely necessary to add at least one fox with glasses. This was my first time doing this type of applique. I'm amazed that it turned out.


In typical me style, I left most of the project till the last minute because apparently that's what we do to build up momentum.

I used my current absolute favorite all over free motion technique of swirls and hooks and I am pretty sure this pattern will keep reappearing in future quilts. It's fast, it's flowy and its forgiving of errors.


The texture it gives is just amazing.

Since this was a gift and I fell so hard for for the pattern, I'm pretty sure I still have one or two fox quilts for in my near future.


Thanks for reading along!
Till the next time...

xo
Jade

Linking up with Crazy Mom Quilts for Finish it Friday (in this case my finish is primarily that I BLOGGED!!)


Monday, February 9, 2015

Vintage Vibe - a book review


This week, I had the pleasure of my first ever book review. I jumped at the chance to review “Vintage Vibe” by Amber Johnson. 


As a lover of modern quilting, with a traditional foundation, I really loved the approach Vintage Vibe takes on quilting. It’s definitely “a little bit vintage, a little bit modern”. I especially loved the history of how Amber learned quilting with her grandmother “Gigi”. I can only imagine how precious these memories must be to Amber. 


There are 14 different patterns to choose from in a variety of sizes. And I fell in love with at least three quilt designs. There is also lots of quilting tips and instructions that would make this book appropriate even for one just learning the art of quilting.


One quilt in particular, Vintage Vibe, won me over at first glance. The elegant simplicity of the design really gives the quilter a chance to focus on the actual quilting effect. I know I definitely have some two tone solid quilts in my future.


I also really loved the bold elegance of this applique quilt (Growing Up). I’m not 100% confident with applique at this point in my quilting journey, but I hope to one day learn the skills needed to embrace this beautiful style of quilting.


I chose to make a block from the Pretty Petals quilt pattern, which is a fun play on the traditional Dresden plate block. I found the size of the Dresden blades easy to sew. The pattern runs a bit on the generous size, so if you cut your fabrics for the blades as directed, you will have a bit of wiggle room to fussy cut if you choose. Personally, after cutting out the template provided, I realized that the Dresden plate wedge fits perfectly on a 2.5 inch strip of fabric, of which I just happen to have a big bin – precut and sorted by color. This was a really quick project for me.
(As a side note, I wish I had remembered that the circle template does not include the seam allowance, but I managed to make it work, just barely, with what I had cut out.)


This block took me about an hour, start to finish. (I plan on using it in a little special project coming up…)

All in all, this was a great read, with a good variety patterns and fun techniques. I look forward to playing with several of the patterns in the future.

Happy reading!


Note: All photo credit (except for the last) goes to photographer Brent Kane, with the permission of the Publisher Martingale.

Saturday, January 24, 2015

pick up sticks - a DPN needle and crochet hook organizer tutorial

I was talking with my cousin the other day about what we knitters (and crocheter's) need that is not readily available. I puzzled and thought and sketched, and in the end came back to a simple needle/hook organizer.

If you are anything like me, your needles are sitting in a rubbermaid bin, twisted and jumbled together. If I'm looking for a certain size, I usually have to dump everything out, sort them out and start measuring. It's such a headache. And I never know what I have at a glance.

Which brings me to my post today. Some of you have asked for a tutorial on how to make this.
I like that you can dress it up, or keep it simple.


To make a basic Pick Up Sticks organizer, you will need:


Crochet Roll Up
DPN Roll Up
Exterior Main
1 piece of fabric 8.5" x 16.5"
Exterior Main
1 piece of fabric 10.5" x 20.5"
Exterior Back
1 piece of fabric 8.5" x 16.5"
Exterior Back
1 piece of fabric 10.5" x 20.5"
Interior Lining
1 piece of fabric 8.5" x 16.5"
Interior Lining
1 piece of fabric 10.5" x 20.5"
Interior Main Panel
1 piece of fabric 8.5" x 16.5"
Interior Main Panel
1 piece of fabric 10.5" x 20.5"
Ties
2 pieces of fabric 1.5" x 16.5"
Ties
2 pieces of fabric 1.5" x 20.5"
Pocket Panel
2 pieces of fabric 5.5" x 16.5"
Pocket Panel (largest)
2 pieces of fabric 6.5" 20.5"


Pocket Panel (smallest)
2 pieces of fabric 4.5" 20.5"
Interfacing 
(ie. Shapeflex 101)
2 pieces 8.5"x 16.5"
Interfacing
(ie. Shapeflex 101)
2 pieces 10.5" x 20.5"z

Equipment needed:
Safety pin
Fabric marker with disappearing ink
Ruler
Iron and board
Sewing machine
Thread
Dull pointy object like a knitting needle
Scissors

NOTE: all seam allowances are 1/4" unless otherwise noted.

If you wish to, you can dress up this pattern and include a pieced or even quilted exterior main panel. I would recommend making it larger than necessary and then cutting it down to size.
Be aware of directional fabrics when cutting fabrics, keeping in mind the overall shape of this project.

These are the parts used in my example for this tutorial (a DPN roll up).


Construction:

Interface both the exterior main panel and the interior main panel (this is the one that will have pockets attached to it).


Stitch the exterior main panel and the exterior back panel together along one long side, right sides together. Press towards the back panel.


Stitch the two pocket panels together along the long side right sides together. Open up and turn right side out and press the seam line. Top stitch with a long stitch (about 3.0 - 3.2mm) 1/8" away from the sewn edge.
Repeat with the second panel if you are making the DPN organizer.

Make the ties by folding each long piece of fabric in half and stitching down the side. Make sure you back stitch on either end.
This probably is the trickiest bit of all, so if you prefer you can use ribbon.
Take a small safety pin and attach it to the seam allowance of one sewn strip. Gently slip the safety pin into the tube. Slowly slide it down into the tube and ease the fabric at the other end as it bunches. You are turning it inside out.


 When you are finished, press each strip and put aside for later.


Assemble the inner part of the roll up by taking the main interior piece (interfaced) and the prepared pocket panel(s). Line it (or them) up along the bottom of the main piece. Stitch along the bottom through the two or three layers 1/8 of an inch away from the bottom to anchor them.


Next, either fold over and mark, or measure the halfway point along the length of the panels. Mark with a fabric pen with water-soluble ink. This will be your first stitch line.


Stitch, with a long stitch length (3.0 mm - 3.2 mm) from the bottom of the panels to the edge of the top panel. Backstitch at the beginning and end.

From this line, take your pen and mark your next sewing lines working from the center line outwards. For a DPN roll-up, I tend to begin with the larger sizes, 1.5" on either side once or twice, then 1.25" then down to an inch. Bear in mind that the larger your DPN needle sizes are, you will need more room to accommodate them. The same applies when needle sets have 5 instead of four parts.

For the crochet roll up, I used a solid 5/8" division for all of the spaces, working from the center out.

Feel free to customize depending on your needs.


I take my iron or a water spray bottle and give the line markings a quick wet down to dissolve the ink. Give it a good press when you are finished.


We are left with two large panels, the interior and exterior. Give everything one last good press. The iron is my best friend. It makes everything so much easier. And more dangerous. :) 
Find the half way point on the backside of the main exterior. This is the point that you want your ties to be located, and will be on the side most viewed when rolled up. Mark this line.

My line will be a little different than yours as I cut this out late at night and my measurements for this particular one are .5" off. Disregard this. :)

Lay the interior panel and the exterior panel, right sides together and line them up. Nest the center seams and pin. Pin all the way around making sure everything is flat and edges match. Leave a gap in the exterior main panel that will not be sewn this round. This will enable us to turn the whole deal inside out.
Stitch along the outside edges. When you reach 1/4" away from a corner, leave your needle in a down position and pivot to continue. Stop and start stitching at either end of the gap. Double check your seams to make sure you have the right seam allowances all the way around. (Ask me how I know to do this.)
Clip all four corners, taking care NOT to clip the stitches.
Very gently turn everything inside out through the gap.


Using a dull pointy object, like a knitting needle or chopstick, push out the four corners on the inside to make sure they come out nice and squarish.


Give everything a good press and carefully press in the seam allowance of the opening. Feel free to pin that spot if you like to keep things lined up.

Using a longer stitch, as before, stitch 1/8" away from the edges all the way around the roll-up taking care not to catch the ties in the way.


Fold the pouch in half lengthwise, taking care not to bunch fabrics, and press. Again. This last step will help keep everything where it needs to be. With a longer stitch, stitch 1/8" away from the fold line stopping and starting at the stitch lines already there. Backstitch at the beginning and end.

Lastly, finish off the ends of your ties. You can sew a tiny zig zag at the bottom of the ties or even some simple straight stitching. I like to tie a knot near the end of each tie. If you think of any more creative ways to embellish your ties, I'd love to see them.


Load up your new Pick-Up Sticks Organizer and enjoy!


If you have any feedback or comments, I'd love to hear them. And if you happen to be on instagram and would like to share, tag your creations with #pickupsticksorganizer. Of course, I'd love it if you tagged me so I could say hi as well. 


Have a great weekend friends!

Until next time,

xo ~ Jade